




Table Of Contents
Deburring Sheet Metal
Manual deburring with hand files or scrapers fits prototypes and short runs, abrasive belts and brushes handle mid-volume work, and tumbling, thermal, electrochemical, or automated edge-rounding systems suit high-volume production or parts with tight internal radii. Before committing to any route, confirm your abrasive equipment meets OSHA guarding requirements and has proper dust controls. Start with a one-part trial grouped by material and thickness to find a repeatable setting before scaling up.
TL;DR:
- Manual deburring is ideal for prototypes and low-volume parts but is slow and relies heavily on operator skill.
- Automated edge-rounding systems offer high throughput and consistency, especially effective on perimeter edges in mass production.
- Wet deburring reduces fire and respiratory risks when working with nonferrous metals but requires proper fluid disposal and filtration measures.
- Choices of abrasive tools and materials should match the burr type, material, and thickness, with grit size and chemistry tailored to specific job requirements.
- Proper process setup, including grouping parts by material and recording validated parameters, is essential to prevent inconsistent edges and rework.
Quick Comparison: Methods At A Glance
Each deburring family trades speed against control, and matching the method to your burr type and volume avoids wasted setup time.
- Manual deburring (files, scrapers, hand-held rotary tools): best for prototypes and low volumes, high control, slow throughput, suited to both perimeter and internal burrs.
- Belt and disc grinders: moderate to high throughput, good for perimeter edges on flat or near-flat parts, generates heat that can affect thin or coated stock.
- Brushes and nonwoven wheels: gentler finish, preserves coatings and surface texture, works on perimeter and accessible internal edges, lower material removal rate.
- Tumbling and vibratory finishing: handles batches of small to mid-size parts, reaches most surfaces including internal corners, requires media selection and cycle tuning, needs part separation for delicate geometries.
- Thermal deburring: fast and uniform on complex internal passages, limited to compatible materials and coatings, requires specialized equipment and safety protocols for the combustion cycle.
- Electrochemical deburring: excels on hard-to-reach internal burrs and hardened materials, needs electrolyte handling and rinsing, slower setup for new part geometries.
- Automated edge-rounders: highest throughput and repeatability for perimeter rounding in production runs, less effective on small internal features.
Aluminum and other nonferrous metals often call for wet systems or dedicated dust collection because fine particulate from dry grinding raises fire and respiratory concerns. Internal burrs generally favor tumbling, thermal, or electrochemical methods, while perimeter edges respond well to belts, brushes, and automated rounders.
What Causes Burrs In Sheet Metal, Explained By Cutting Process
Burrs form at the interface where a cutting tool or energy source exits the material, and their shape depends on the process that created them. A shear burr is the sharp ridge left where metal is sheared past its yield point, while rollover is the rounded deformation on the entry side of a punch or blade. The break band is the fractured zone between the clean shear and the burr, and dross or slag refers to resolidified material from thermal cutting processes.
- Laser cutting leaves heat-affected margins and sometimes fine dross along the kerf, especially on thicker stock.
- Waterjet cutting produces minimal burring, sometimes a slight smear or taper on the exit side.
- Punching and stamping generate rollover on the die side and a break band beneath it, with burr height tied to die clearance.
- Plasma cutting tends to leave rougher, more irregular edges than laser or waterjet.
- Mechanical shearing typically produces a thin, consistent burr along the cut line.
Material thickness, tensile strength, and coatings all shift expected burr height: thicker or higher-strength stock generally produces taller burrs, and coated sheets can tear or delaminate near the cut edge if the coating is brittle.
Detailed Methods: How Each Deburring Technique Works
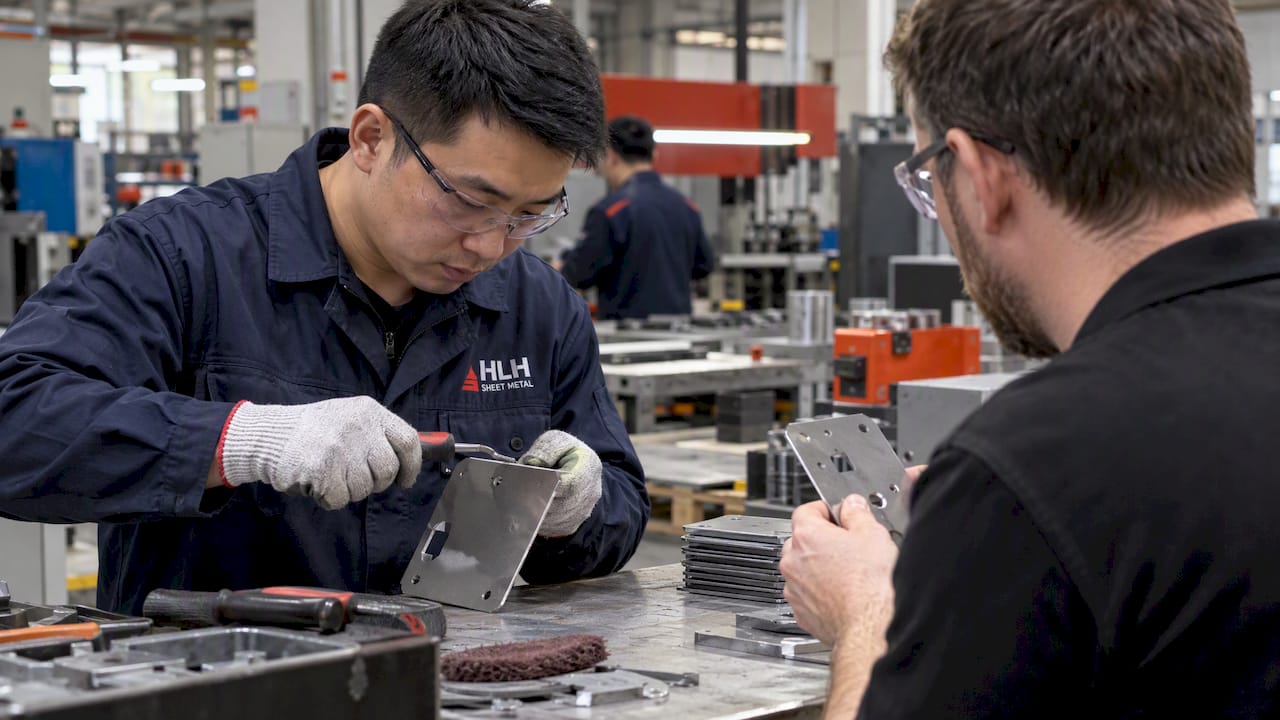
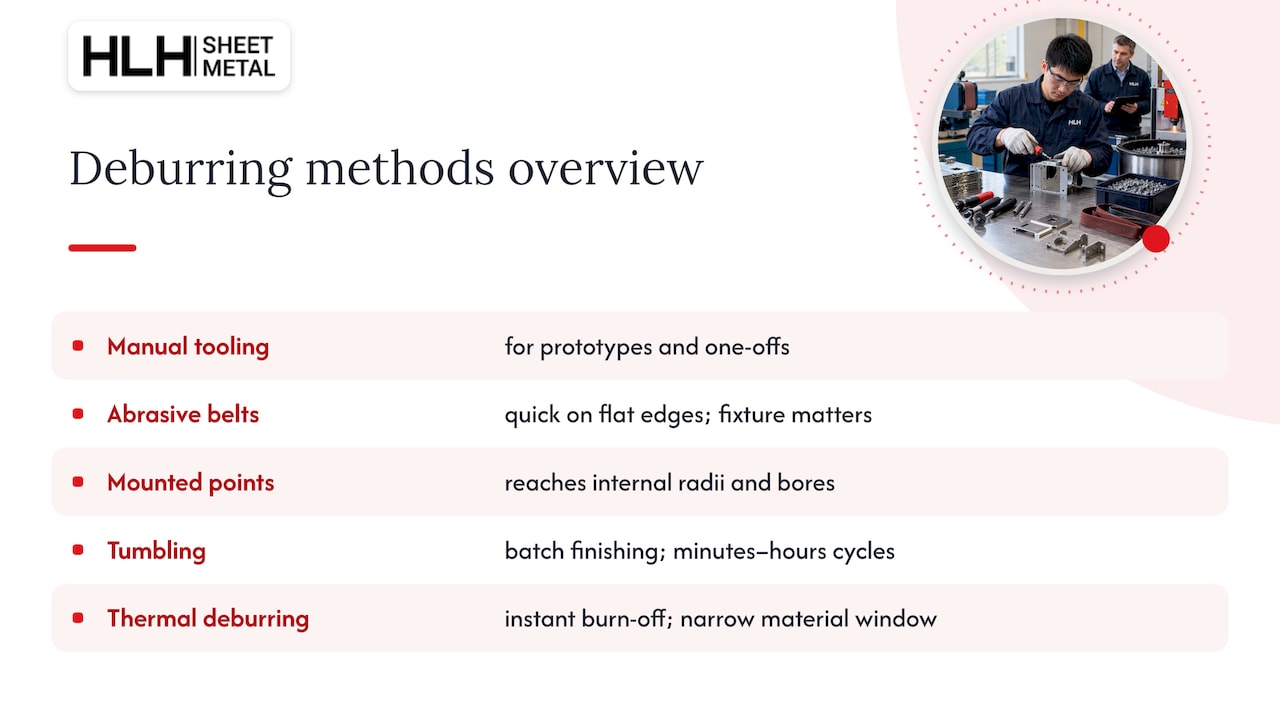
Manual tooling remains appropriate for prototypes, one-off repairs, and parts too delicate or oddly shaped for machine fixturing. Hand files, scrapers, and small rotary tools give an operator direct control, but repetitive use raises ergonomic strain and the finish quality depends heavily on operator skill, which limits its use for anything beyond short runs.
Abrasive belts and disc grinders remove burrs quickly on flat and near-flat perimeter edges. Mounting the part in a fixture that holds consistent contact pressure matters more than belt speed: start with a coarser grit to knock down the burr, then step to a finer grit for the final edge. Bond type (resin versus rubber) affects how aggressively the belt cuts and how long it lasts under heat.
Mounted points and flap wheels on mandrels reach internal radii and small bores that flat abrasives cannot. Many shops dull both sides of a cut edge in one pass by angling the tool slightly, which also knocks down any secondary burr raised by the deburring operation itself.
Brushing and nonwoven systems use abrasive-impregnated nylon filament or nonwoven wheels to control finish level without aggressive stock removal, making them a common choice for stainless steel or painted parts where preserving the surface matters more than speed.
Tumbling and vibratory finishing batches small to mid-size parts in a media-filled bowl or barrel that wears down burrs over a cycle measured in minutes to hours. Media shape and abrasive grade determine the final finish, and delicate parts often need masking or separation to avoid impact marks.
Thermal deburring fires a controlled combustible gas mixture inside a sealed chamber, and the resulting heat pulse burns off burrs almost instantly, including those in internal passages that other methods cannot reach. The process window is narrow: it suits specific metals and depends on compatible coatings, and the combustion byproducts require proper ventilation and waste handling.
Electrochemical deburring dissolves burr material through controlled current and electrolyte flow, which makes it effective on hardened materials and complex internal geometries where mechanical tools cannot reach. It requires careful electrolyte handling, thorough rinsing to prevent corrosion, and more setup time when part geometry changes.
Automated belt and brush edge-rounders stage multiple abrasive passes and compensate for media wear to produce a consistent radius across a production run. According to reporting from The Fabricator, these systems can preserve coatings when tuned correctly and cut down on manual rework compared to hand finishing.
Many production lines combine steps in sequence: deslagging removes thermal dross first, deburring knocks down the primary burr, edge rounding smooths the resulting corner, and a final surface finish pass completes the part before it moves to assembly or coating.
Wet Vs. Dry Deburring: Which To Choose And Why
Wet deburring suppresses dust and cools the part during material removal, which makes it a better fit for aluminum and other nonferrous metals that generate fine, combustible particulate when ground dry. Dry deburring is mechanically simpler, avoids a fluid waste stream, and integrates more easily with existing shop dust collection systems already in place for cutting or grinding.
- Wet systems reduce fire risk from fine metal dust and limit airborne particulate exposure.
- Dry systems skip fluid disposal and filtration but need robust local exhaust ventilation.
- Paint adhesion can suffer if wet process fluid residue is not fully cleaned before coating.
- PPE and filtration specs differ: dry dust collection demands finer filtration, while wet systems need splash protection and fluid-compatible gloves.
Shops running wet processes need a plan for fluid disposal and periodic fluid replacement to keep finishing results consistent, since degraded fluid changes both cooling and surface outcome over time.
Selecting Tools, Abrasives, And Consumables By Material And Burr Type
Matching abrasive chemistry to the base metal shortens the trial-and-error phase. Aluminum oxide suits general-purpose steel work, zirconia alumina holds up better under heavy stock removal on tougher alloys, and ceramic abrasives last longest on hardened or high-tensile materials. Nonwoven abrasives are the gentler option when the goal is finish control rather than aggressive removal.
Grit selection follows a simple logic: coarse grits (36 to 80) handle rough burr removal, while finer grits (120 and above) refine the edge afterward. Mounted points need a mandrel sized to the bore diameter, and smaller internal features often fall outside what standard brush end-effectors can reach effectively, which means they commonly need a secondary manual touch-up. Wire brushes cut faster but can embed particles or leave marks on soft metals, while abrasive nylon brushes and nonwoven wheels are the safer choice when preserving a coating or painted surface is the priority.
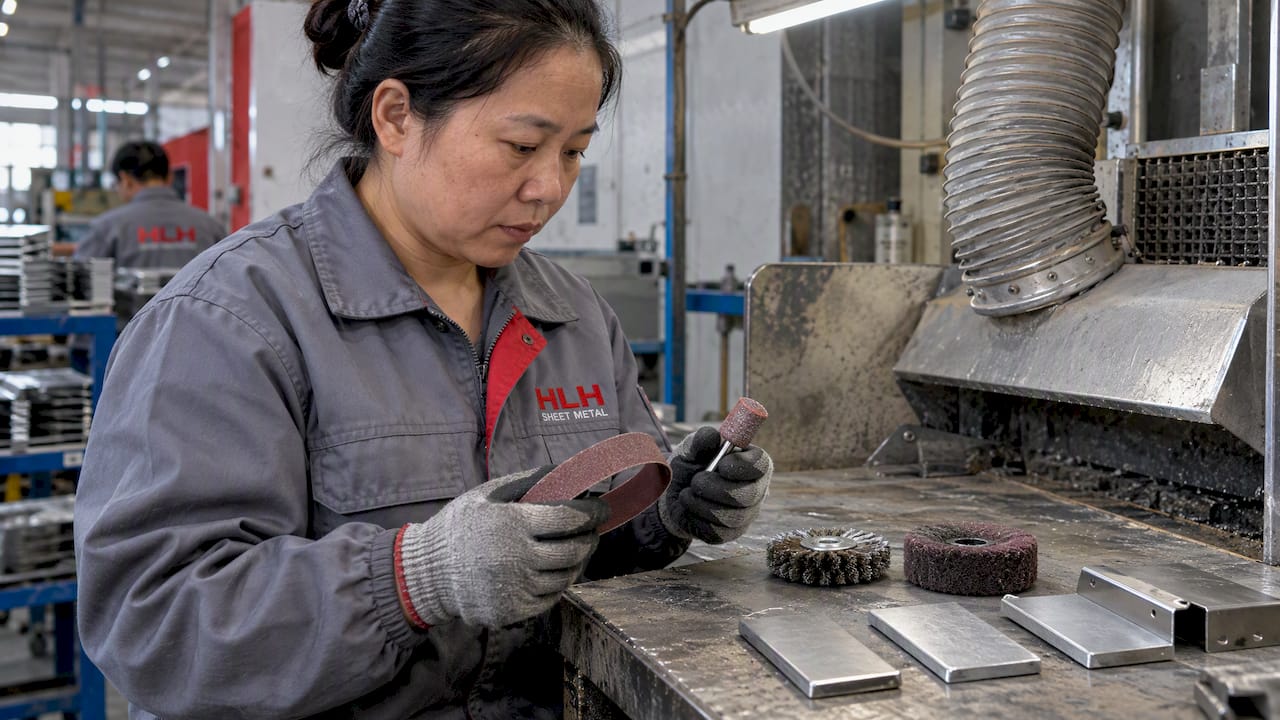
Tool life depends on heat buildup and contact pressure, so dressing wheels regularly and inspecting belts and brushes for glazing keeps results consistent from one batch to the next.
Pro Tip: Keep a small reference card of validated grit and tool combinations for each material and thickness so new operators do not have to reinvent settings on every job.
Automation And Edge Rounding In Production: A Practical Perspective
Automation pays off once volume, labor availability, and repeatability requirements cross a certain threshold, and that threshold shows up earlier than most shops expect once manual touch-up starts eating into cycle time. The decision usually comes down to whether consistent, repeatable edges across hundreds or thousands of parts matter more than the flexibility of a manual station.
- Group parts by thickness before setting up a run, since feed rate and belt pressure both need to shift with material gauge.
- Start conservative on feed speed and contact pressure, then adjust upward once the first sample parts pass inspection.
- Log one validated setting per material and thickness combination so the next run skips the trial-and-error phase entirely.
- Edge rounding improves downstream steps: rounded edges reduce paint thinning at corners and lower the risk of cut injuries during assembly.
Our surface finishing services run under ISO-certified quality assurance, and we use rapid prototyping to dial in machine settings on a sample batch before committing a full production run to a given parameter set. That sequence, prototype first, then scale, catches a mismatched feed rate or grit choice before it turns into a pile of rework.
Safety, Standards, And Regulatory Requirements
Abrasive deburring equipment falls under specific OSHA rules that are not optional. OSHA 1910.215 sets guarding design specifications for bench and floor-mounted grinders, including flange dimensions and blotter use for mounted wheels. OSHA 1926.303 adds requirements for angular exposure limits, work-rest adjustment, and ring-testing wheels before mounting them on construction-site equipment.
Every abrasive wheel should be ring-tested and properly seated with correct flange blotters before use. This single check, confirmed against OSHA’s abrasive wheel standard, catches cracked or damaged wheels before they fail under load.
For acceptance criteria on the finished edge itself, DIN 9830 documents empirical burr-height ranges tied to material thickness and tensile strength, giving a reference point for what counts as an acceptable burr on stamped parts. Routine shop checks should include wheel seating, PPE verification, and eye protection at every station, along with dust collection or respiratory protection suited to whether the process runs wet or dry.
Process Selection And Production Considerations
Choosing the right deburring route starts with four variables: material, thickness, burr morphology, and part geometry, cross-checked against expected volume. A thin aluminum bracket cut on a laser needs a different approach than a thick stamped steel bracket with heavy rollover.
Cost drivers split into capital equipment, ongoing consumables, labor hours, and the rework risk of getting it wrong. A short trial run, typically five to ten sample parts, lets you check acceptance criteria against a target burr height before committing to a parameter set. Document the grit, feed rate, pressure, and cycle time that produced an acceptable result, since that record becomes the baseline for every future order of the same part.
Edge requirements belong on the drawing itself: specify a maximum burr height, a target rounding radius, and the expected surface condition so the shop floor and the quality team work from the same number instead of a subjective judgment call.
Inspection And Measurement: Applying DIN 9830 And Shop-level Checks
DIN 9830 organizes burr-height data by material thickness and tensile strength, which gives a practical basis for setting shop acceptance levels rather than relying on a single fixed number across every job. Translate the relevant range into a go/no-go gauge or a simple feel test that operators can apply at the station.
Sample a consistent percentage of parts from each run, track the results on a basic SPC chart, and flag any drift before it turns into a batch of rejects. Record outcomes in the process control plan and tie any out-of-range result to a documented corrective action, whether that means adjusting belt pressure, swapping a dulled brush, or revisiting the upstream cutting parameters.
Best-practice Checklist: Immediate Steps For Engineers And Shop Leads
- Group incoming parts by material and thickness before selecting a deburring method.
- Run a small trial batch and record grit, pressure, feed rate, and cycle time that meet target burr height.
- Set up a go/no-go gauge or feel test matched to your DIN 9830 acceptance range.
- Verify abrasive equipment guarding and ring-test wheels per OSHA requirements before first use.
- Sample parts throughout the production run and log results against the process control plan.
- Review setup notes after the run and update the reference card for the next order of the same part.
A Shop-floor View On Getting Deburring Right The First Time
The most common mistake is not picking the wrong method. It is skipping the grouping step and running mixed thicknesses or materials through the same setup, which forces constant readjustment and produces inconsistent edges from one part to the next. A single afternoon spent sorting a job by material and gauge before the first trial saves far more time than it costs.
Pro Tip: Record one validated parameter set per material and thickness combination the first time you run it, and treat that record as the starting point for every repeat order instead of resetting from scratch.
— Nash
Get Deburring And Edge Finishing Handled As Part Of Your Build
Running internal trials takes time that not every project has, and outsourcing the finishing step to a shop already running ISO-certified quality assurance can shortcut that process. We offer surface finishing services alongside laser cutting, stamping, bending, and welding, which means a part can move from cut to deburred to finished without changing vendors. We use rapid prototyping to validate deburring and edge-rounding settings on a sample batch before committing to full production, so the parameters that reach your production run have already been checked. If you have a part with persistent burr issues or tight edge-quality requirements, our fabrication capabilities page is the place to start a quote.
FAQ
How To Reduce Burrs In Sheet Metal?
Reducing burrs starts upstream, at the cutting process itself: tighter die clearances in stamping and properly maintained cutting tools in shearing both lower burr height before deburring even begins. Matching the deburring method (abrasive, thermal, or electrochemical) to the material and burr morphology, as documented by burr-height data in DIN 9830, further controls the final result.
What Is A Good Deburring Tool For Sheet Metal?
Abrasive belts and disc grinders work well for perimeter edges on flat parts, while mounted points and flap wheels reach internal radii that flat tools cannot. Brushes and nonwoven wheels are a better choice when preserving a coating or painted finish matters more than aggressive material removal.
What Is A Good Tool For Smoothing Metal Edges?
Nonwoven abrasive wheels and abrasive nylon brushes smooth edges without the heavy stock removal of a coarse grinding belt, which makes them well suited to a final finishing pass. Automated edge-rounding systems can produce a consistent radius across a full production run, and reporting from The Fabricator notes these systems can preserve coatings when tuned to the material and thickness.
Can I Use Sandpaper To Deburr?
Sandpaper or hand-held abrasive sheets can remove small burrs on prototypes or one-off parts, though the result depends heavily on operator technique and consistency. For anything beyond a handful of parts, a mounted abrasive tool or belt system gives a more repeatable edge in less time.

