




Table Of Contents
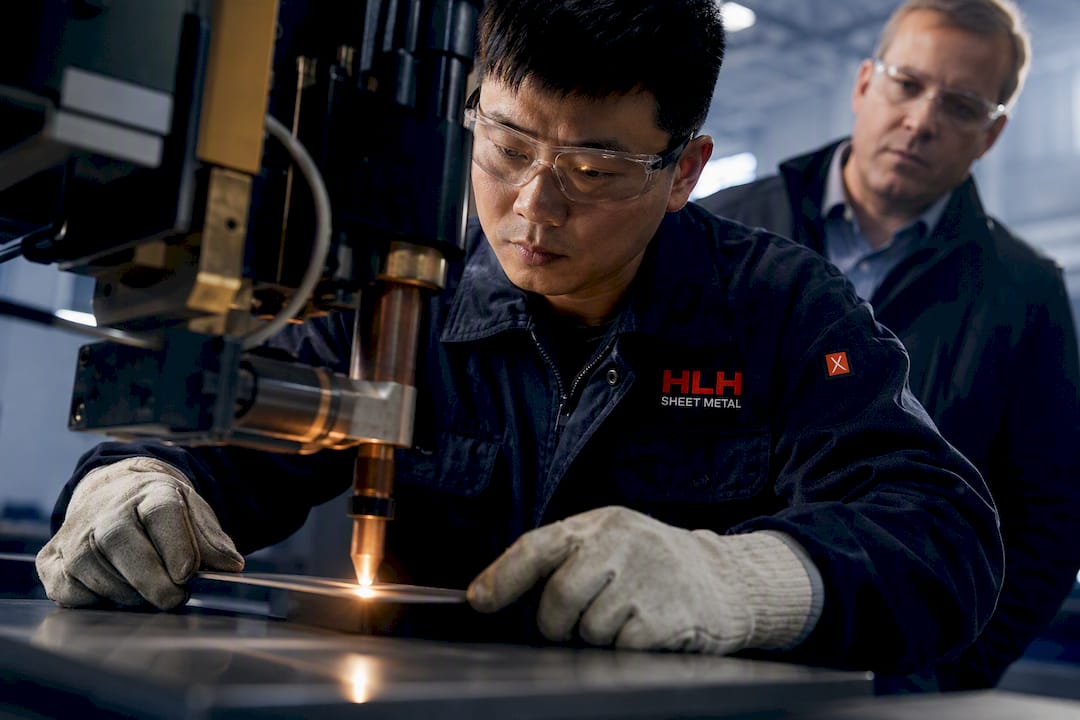
Spot welding sheet metal works best for fast, repeatable lap joints in thin steel assemblies, roughly 0.5 to 3 mm per sheet, where high strength matters more than a sealed or cosmetic finish. Low-carbon steel is the easy case; aluminum, copper, and high-carbon steel demand higher current, special electrodes, or a different process entirely. The sections below cover the parameters, joint design rules, and inspection standards that separate a reliable production weld from a brittle one.
TL;DR:
- Spot welding is most effective for 0.5 to 3 mm thick low-carbon steel sheets, requiring precise parameter adjustments for different materials and thicknesses.
- Modern robotic systems with adaptive controllers provide consistent quality in high-volume production, reducing the need for manual intervention.
- Electrode tip shape, condition, and regular dressing are critical for maintaining weld quality and preventing issues like cracking or surface defects.
- Proper joint design, including adequate overlap and spacing, is essential to ensure reliable, consistent welds and prevent shunting or blowouts.
- Initial parameter development with test coupons, destructive testing, and strict process control are necessary steps before scaling to full production.
How Spot Welding Works And What Equipment You Need
The process comes down to four steps repeated hundreds of times an hour: squeeze, weld, hold, release. Electrodes clamp the overlapping sheets under pressure, current flows for a fraction of a second, the molten nugget solidifies under continued clamping force, then the electrodes retract. Weld times typically run 10 to 100 milliseconds, depending on material thickness, with thicker stacks needing more time and current to form a full-size nugget.
The equipment stack behind that cycle is simpler than most people expect:
- A transformer or inverter power supply that steps up current to the kiloamp range needed to melt metal locally.
- Copper-alloy electrodes that concentrate current at the joint and double as heat sinks.
- A clamping mechanism, pneumatic or servo-driven, that holds constant force through the weld.
- A water cooling loop, since electrodes absorb enormous heat and fail fast without it.
- A controller that monitors voltage and current in real time, adjusting energy delivery mid-weld to compensate for surface contamination or electrode wear.
That last point matters more than it sounds. Modern controllers use adaptive feedback rather than a fixed timer, which is why spot welding scales so well in automotive and appliance lines where robots run the same joint tens of thousands of times without a human checking each one. Manual bench welders still exist for prototyping, but any production volume worth automating usually goes to a robotic cell within a year or two of launch.
Which Metals Can You Spot Weld, And How Thick?
Low-carbon steel is the reference material for a reason: it’s forgiving, conductive enough to weld cleanly, and tolerant of a wide parameter window. Practical thickness runs about 0.5 to 3 mm per sheet, and the stack-up ratio between the thickest and thinnest sheet in a joint should stay close to 1:1. Push that ratio too far and the thin sheet burns through before the thick one reaches temperature.
Material choice changes the equation fast:
- Low-carbon steel: the easiest and most common choice, with a broad, stable process window.
- High-carbon steel: carbon equivalence above roughly 0.4% risks brittle nuggets and cracking as the weld cools too quickly for the microstructure to relax.
- Stainless steel: welds well but runs hotter due to lower conductivity, which shortens electrode life.
- Aluminum: needs roughly two to three times the current steel requires because of its high thermal and electrical conductivity, and it chews through electrode tips faster.
- Copper: rarely spot welded at all. Its conductivity is so high that current escapes through the base metal instead of concentrating at the joint.
- Galvanized or coated steel: weldable, but the zinc coating raises contact resistance and accelerates electrode wear, so tips need dressing more often.
How Do You Set Current, Weld Time, Force, And Hold Time?
Four variables control every spot weld, and they fight each other constantly. More current melts more metal but risks blowing molten metal out the sides, a defect called expulsion. Longer weld time grows the nugget but also grows the heat-affected zone and slows the cycle. Electrode force keeps the sheets in contact and controls contact resistance. Hold time lets the nugget solidify under pressure before the electrodes lift, and cutting it short is one of the most common causes of a cracked weld.
Here’s a practical sequence for developing a schedule on a new job:
- Start with published ranges for the material and thickness. Automotive steel schedules commonly run 5 to 15 kA, with aluminum needing considerably more.
- Weld a test coupon, then section and measure the nugget diameter against the target size for that thickness.
- If the nugget is undersized, raise current or weld time in small increments rather than both at once, so you know which variable moved the result.
- If you see expulsion or surface pitting, reduce current slightly or increase electrode force to improve contact.
- Lock the schedule once you get consistent nugget size across a run, then verify with a destructive test before releasing it to production.
Controller energy logs are worth watching daily once a schedule is live. A drifting current draw at the same voltage setting usually means the electrode tip has worn out of shape, not that the material changed.
Electrode Design And Maintenance: Why Tip Condition Controls Everything
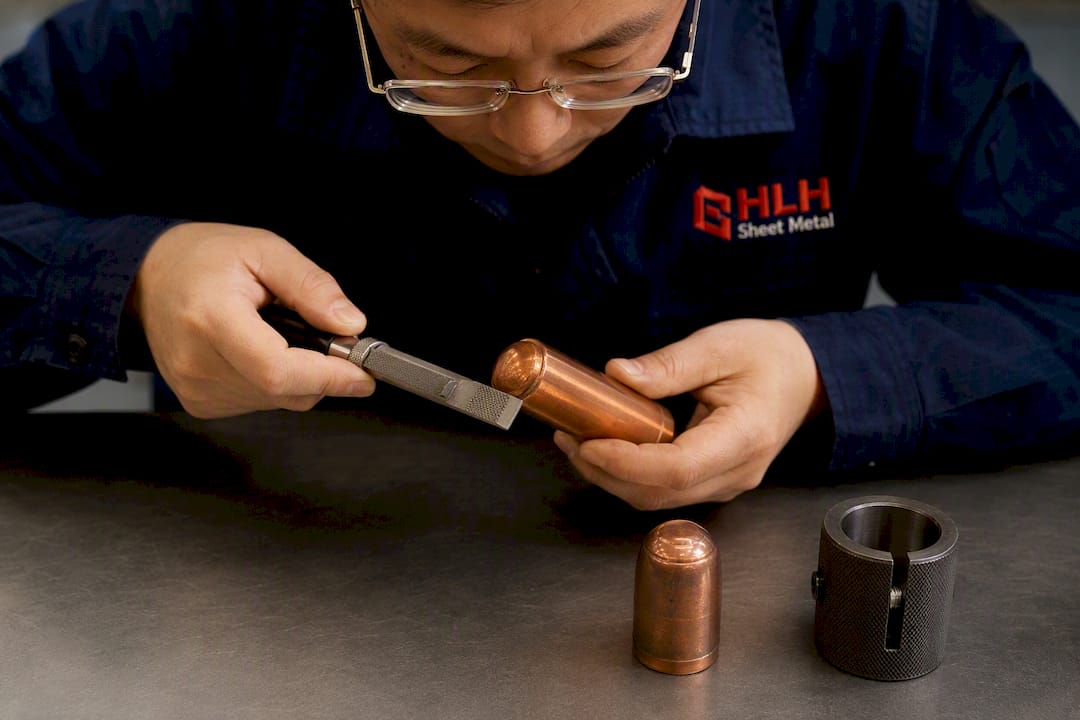
Electrode tip shape decides where current concentrates. A domed tip spreads contact over a wider area and suits thin, delicate sheets, while a truncated cone or flat tip pushes current density higher for thicker stacks. Most tips are copper alloy, chosen for high conductivity and reasonable hardness, and they run through a continuous water cooling circuit or a dedicated chiller loop on high-duty-cycle lines.
Wear shows up in predictable ways:
- Mushrooming, where the tip face spreads out and reduces current density.
- Pitting or surface buildup from coated steels, which raises contact resistance and inconsistent nugget size.
- Glazing, a smooth, discolored surface that signals it’s time to dress the tip immediately.
Coated steels accelerate all three failure modes, which is why galvanized production runs need dressing on a tighter schedule than bare steel.
Pro Tip: Track dressing intervals against nugget diameter on a simple log sheet. When you see the interval between dressings shrinking week over week, it’s usually the electrode alloy wearing out, not just normal buildup, and it’s time to swap tip material rather than dress harder.
What Joint Design Rules Keep Spot Welds Reliable?
Spacing and overlap decisions made at the CAD stage matter more than anything an operator does on the floor. Get them wrong and no amount of parameter tuning fixes the result.
- Keep lap overlap at least two to three times the nugget diameter so the joint has margin on either side of the weld.
- Space welds no closer than roughly 10 times material thickness center to center to avoid shunting, where current from one weld leaks through an adjacent nugget instead of forming a clean new one.
- Hold edge distance to 1.5 to 2 times the weld diameter, since welds placed too close to a sheet edge blow out or form a weak, undersized nugget.
- Design flanges wide enough to seat the electrode squarely. A flange narrower than the electrode face guarantees a crooked, unreliable weld.
- Build fixtures that hold consistent contact pressure across the whole assembly, not just at the weld point, so parts don’t spring apart between welds.
Bring these rules into the drawing before tooling gets cut, not after the first pilot run fails. Our DFM guidance for spot-welded assemblies covers spacing and overlap examples across common gauge combinations.
How Do You Test And Inspect A Spot Weld?
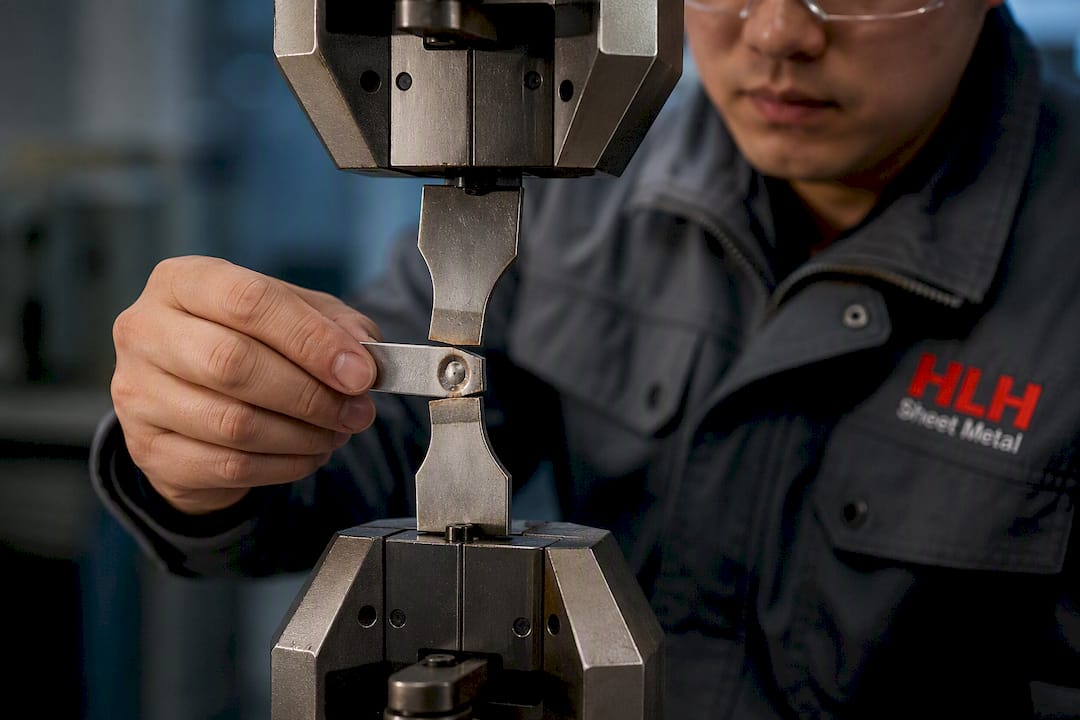
Nugget diameter is the number that matters most, and it’s usually specified as a multiple of the square root of material thickness. Measuring it destructively means sectioning a sample weld and checking the fused zone under magnification, but production floors also watch surface indentation, since a nugget that’s too small often shows barely any electrode mark at all.
Three checks form the backbone of a quality program:
- Peel testing: pry the sheets apart at the weld and confirm the nugget pulls a plug of metal from one sheet rather than separating cleanly at the interface.
- Chisel testing: drive a wedge into the joint edge as a fast, low-cost way to confirm fusion on the shop floor.
- Tensile-shear testing: pull the joint apart in a test frame to get an actual load number against a spec.
Between destructive samples, controller logs and statistical process control catch drift in real time. Following structured incoming inspection practices on top of in-line monitoring closes the gap between a spot check and a genuine quality system.
When Should You Choose Spot Welding Over Clinching Or Rivets?
Spot welding wins on speed, repeatability, and low cost per joint at volume, with no filler metal and minimal cycle time once the schedule is locked. It struggles where a sealed joint, a cosmetic exterior surface, or dissimilar metals are involved, since the weld leaves visible marks and heat-affected zones on both sides.
- Clinching forms a cold mechanical interlock, preserves coatings, and skips welding fumes entirely, reaching about 80% of comparable spot weld strength in thin gauges.
- Adhesives distribute load across the whole bond line and seal against moisture, which spot welding cannot do on its own.
- Rivets and self-piercing fasteners handle dissimilar metals and thicker stacks that resistance welding can’t reach.
Where cosmetics or sealed joints matter, clinching or adhesive bonding are usually the better call, not because spot welding is inferior, but because it’s solving a different problem.
Common Spot Welding Sheet Metal Problems And How To Fix Them
Most production issues trace back to one of four causes, and working through them in order saves hours of guesswork.
- Weak or undersized weld: raise current or weld time in small steps, and check that contact surfaces are clean of oil or oxide first.
- Expulsion (metal spatter): reduce current slightly or increase electrode force to improve contact area.
- Cracking at the nugget: extend hold time, and if the material is a higher-carbon steel, confirm the schedule wasn’t borrowed from a low-carbon job.
- Excessive surface indentation: check electrode force isn’t set too high and confirm the tip hasn’t mushroomed out of its original geometry.
When two or three of these symptoms show up together, the electrode is usually the root cause. Re-dress or replace the tip before touching the parameter set again.
Pro Tip: Keep a “known good” reference coupon on the bench next to the welder. When a batch starts drifting, weld a fresh coupon with the current schedule and compare nugget size side by side. It catches slow drift faster than staring at a controller readout.
What HLH Sheet Metal Looks For In Spot-welded Production Runs
Vetting a contract manufacturer for spot-welded parts comes down to a short checklist: ISO-certified process controls, documented electrode dressing schedules, and destructive testing capability on-site rather than outsourced. Parameter development and pilot samples are run before scaling to full production, matching schedules across plants so a part welded in one facility behaves the same in another. That repeatability is the whole point of a pilot run, not a formality before the real work starts.
A Practical Path From Prototype To Production
Start with matched-thickness test coupons, scan current and weld time in small steps, and section a handful of samples to confirm nugget size before committing to a schedule. Automation earns its cost once volumes clear a few thousand units a month; below that, a manual or semi-automatic cell usually pencils out better. Any RFQ for spot-welded parts should include material spec, thickness stack-up, and target load requirements up front.
— Nash
Get A Spot Welding Quote For Your Sheet Metal Assembly
This process is applied daily: parameter development on test coupons, destructive verification, and pilot runs before any job scales to volume, across multiple plants built to keep schedules consistent regardless of which facility runs the order. That’s the practical advantage over a single-shop supplier: capacity to absorb a volume jump without re-qualifying the weld from scratch. Our sheet metal welding services cover spot welding alongside laser cutting and forming for full assemblies, and our fabrication capabilities page details testing and QA processes in depth. Send a drawing with material spec, thickness stack-up, and target load, and start a quote request for your sheet metal fabrication project to get a DFM review back on your joint layout before tooling is cut.
FAQ
How Thick Of Metal Can You Spot Weld?
Most spot welding jobs fall between 0.5 mm and 3 mm per sheet, with the thickest and thinnest sheets in a stack ideally staying close to a 1:1 ratio for a clean nugget on both sides.
What Metals Cannot Be Spot Welded?
Pure copper is essentially impossible to spot weld because its conductivity lets current escape through the base metal instead of concentrating at the joint; high-carbon steel and most aluminum alloys can be welded but need specialized schedules and electrodes.
What Metals Can You Spot Weld?
Low-carbon steel is the easiest and most common choice, followed by stainless steel, galvanized or coated steel, and aluminum, though aluminum needs roughly two to three times the current of steel and wears electrodes faster.
How Difficult Is Spot Welding?
The basic cycle, squeeze, weld, hold, release, is straightforward, but getting a reliable, repeatable nugget depends on correctly balancing current, weld time, force, and hold time, plus keeping electrodes properly dressed. Contracting a shop that handles parameter development removes that burden for teams that don’t want to run it in house.

